안녕하세요.
오늘은 플루터 리스트뷰 예제를 가지고 왔습니다.
대부분의 상용 앱은 동일한 형태의 아이템(또는 객체)를 나열하기 위해 리스트뷰를 사용합니다.
쇼핑몰의 상품 리스트, 커뮤니티의 게시글 리스트 등 다양한 상황에서 사용되죠!
그러면 플루터에서는 어떻게 리스트뷰를 만드는지에 대해 알아보도록 하겠습니다.
상황설정을 위해 도서리스트를 나열하는 예제를 작성해보았습니다.
우선, Book 객체를 정의해줍니다.(예제에서는 main.dart에 모든 클래스를 넣었습니다.)
class Book {
  int id;
  String title;
  String imgSrc;

  Book({required this.id, required this.title, required this.imgSrc});

  Map<String, dynamic> toMap() {
    return {'id': id, 'title': title, 'imgSrc': imgSrc};
  }

  factory Book.fromJson(Map<String, dynamic> json) {
    return Book(id: json['id'], title: json['title'], imgSrc: json['imgSrc']);
  }
}
toMap과 fromJson 메소드는 이후 서버와 송수신할 때 유용하게 사용될 수 있으므로 이번실습에서는 참고사항 정도로 생각하시면 될것같습니다.
그리고 리스트뷰에 들어갈 아이템을 다음과 같이 만들어줍니다.(이번실습에서는 고정된 아이템만을 다룹니다.)
List<Book> books = [
    Book(
        id: 1,
        title: "하얼빈",
        imgSrc:
            "https://shopping-phinf.pstatic.net/main_3368498/33684983664.20220808092115.jpg?type=w300"),
    Book(
        id: 2,
        title: "역행자",
        imgSrc:
            "https://shopping-phinf.pstatic.net/main_3255028/32550285396.20220914160250.jpg?type=w300"),
    Book(
        id: 3,
        title: "잘될 수밖에 없는 너에게",
        imgSrc:
            "https://shopping-phinf.pstatic.net/main_3410601/34106011618.20220818093442.jpg?type=w300"),
    Book(
        id: 4,
        title: "데뷔 못 하면 죽는 병 걸림 1부 초판 한정 굿즈박스 세트",
        imgSrc:
            "https://shopping-phinf.pstatic.net/main_3449237/34492373619.20220905183722.jpg?type=w300"),
    Book(
        id: 5,
        title: "불편한 편의점 2",
        imgSrc:
            "https://shopping-phinf.pstatic.net/main_3368499/33684998621.20220811101806.jpg?type=w300"),
    Book(
        id: 6,
        title: "파친코 2",
        imgSrc:
            "https://shopping-phinf.pstatic.net/main_3393982/33939827618.20220808182811.jpg?type=w300"),
    Book(
        id: 7,
        title: "불편한 편의점",
        imgSrc:
            "https://shopping-phinf.pstatic.net/main_3244499/32444990070.20220527030724.jpg?type=w300"),
    Book(
        id: 8,
        title: "파친코 1",
        imgSrc:
            "https://shopping-phinf.pstatic.net/main_3343571/33435716826.20220728093341.jpg?type=w300"),
    Book(
        id: 9,
        title: "원씽",
        imgSrc:
            "https://shopping-phinf.pstatic.net/main_3247335/32473353629.20220527033429.jpg?type=w300"),
    Book(
        id: 9,
        title: "그대만 모르는 비밀",
        imgSrc:
            "https://shopping-phinf.pstatic.net/main_3434574/34345747674.20220830140856.jpg?type=w300")
  ];
그런 뒤 build 메소드를 다음과 같이 작성해줍니다.
@override
  Widget build(BuildContext context) {
    return Scaffold(
        appBar: AppBar(
          title: Text(widget.title),
        ),
        body: Container(
            padding: EdgeInsets.all(10.0),
            alignment: Alignment.topCenter,//위로정렬
            child: ListView.builder(
                padding: const EdgeInsets.all(8),
                itemCount: books.length,//리스트의 크기
                itemBuilder: (ctx, index) {//각 아이템으로 요소(책 객체) 전달
                  return BookTile(books[index]);
                })));
  }
이때 각 아이템 별 화면배치를 BookTile을 통해 설정할 수 있습니다.
(예제의 경우 간단하게 책 이름, 이미지, 이미지 소스를 아이템 구성요소로 설정하였습니다. Book객체의 imgSrc는 총 두번 사용되도록..!)
class BookTile extends StatelessWidget {
  BookTile(this._book);
  final Book _book;
  @override
  Widget build(BuildContext context) {
    // TODO: implement build
    return Container(
        decoration: BoxDecoration(
          border: Border(bottom: BorderSide(color: Colors.grey)),
        ),
        child: GestureDetector(
          onTap: () {
            //디테일 화면으로 이동 코드
          },
          child: Row(
            children: [
              Expanded(
                flex: 1,
                child: Container(
                  padding: EdgeInsets.all(8),
                  child: Image.network(
                    this._book.imgSrc,
                    height: 100,
                  ),
                ),
              ),
              Expanded(
                  flex: 2,
                  child: Column(
                    children: [
                      Container(
                        padding: EdgeInsets.all(4),
                        alignment: Alignment.centerLeft,
                        child: Text(
                          _book.title,
                        ),
                      ),
                      Container(
                        padding: EdgeInsets.all(4),
                        alignment: Alignment.centerLeft,
                        child: Text(
                          "출처 : " + _book.imgSrc,
                          maxLines: 2,
                          overflow: TextOverflow.ellipsis,
                        ),
                      ),
                    ],
                  ))
            ],
          ),
        ));
  }
}
이렇게 BookTile을 작성하면 미리 선언해둔 ListView.builder 내 books객체 각각이 BookTIme에 반영됩니다.
이때 ListView를 선언하는 방법은 크게 세가지(child, builder, separated)가 있습니다.
저의 경우 builder 방법을 사용하였고, 다른 방법은 아래 링크를 통해 확인할 수 있습니다. 적용하고자 하는 방식에 맞춰 사용하면 될 것 같습니다.
https://api.flutter.dev/flutter/widgets/ListView-class.html
ListView class - widgets library - Dart API
A scrollable list of widgets arranged linearly. ListView is the most commonly used scrolling widget. It displays its children one after another in the scroll direction. In the cross axis, the children are required to fill the ListView. If non-null, the ite
api.flutter.dev
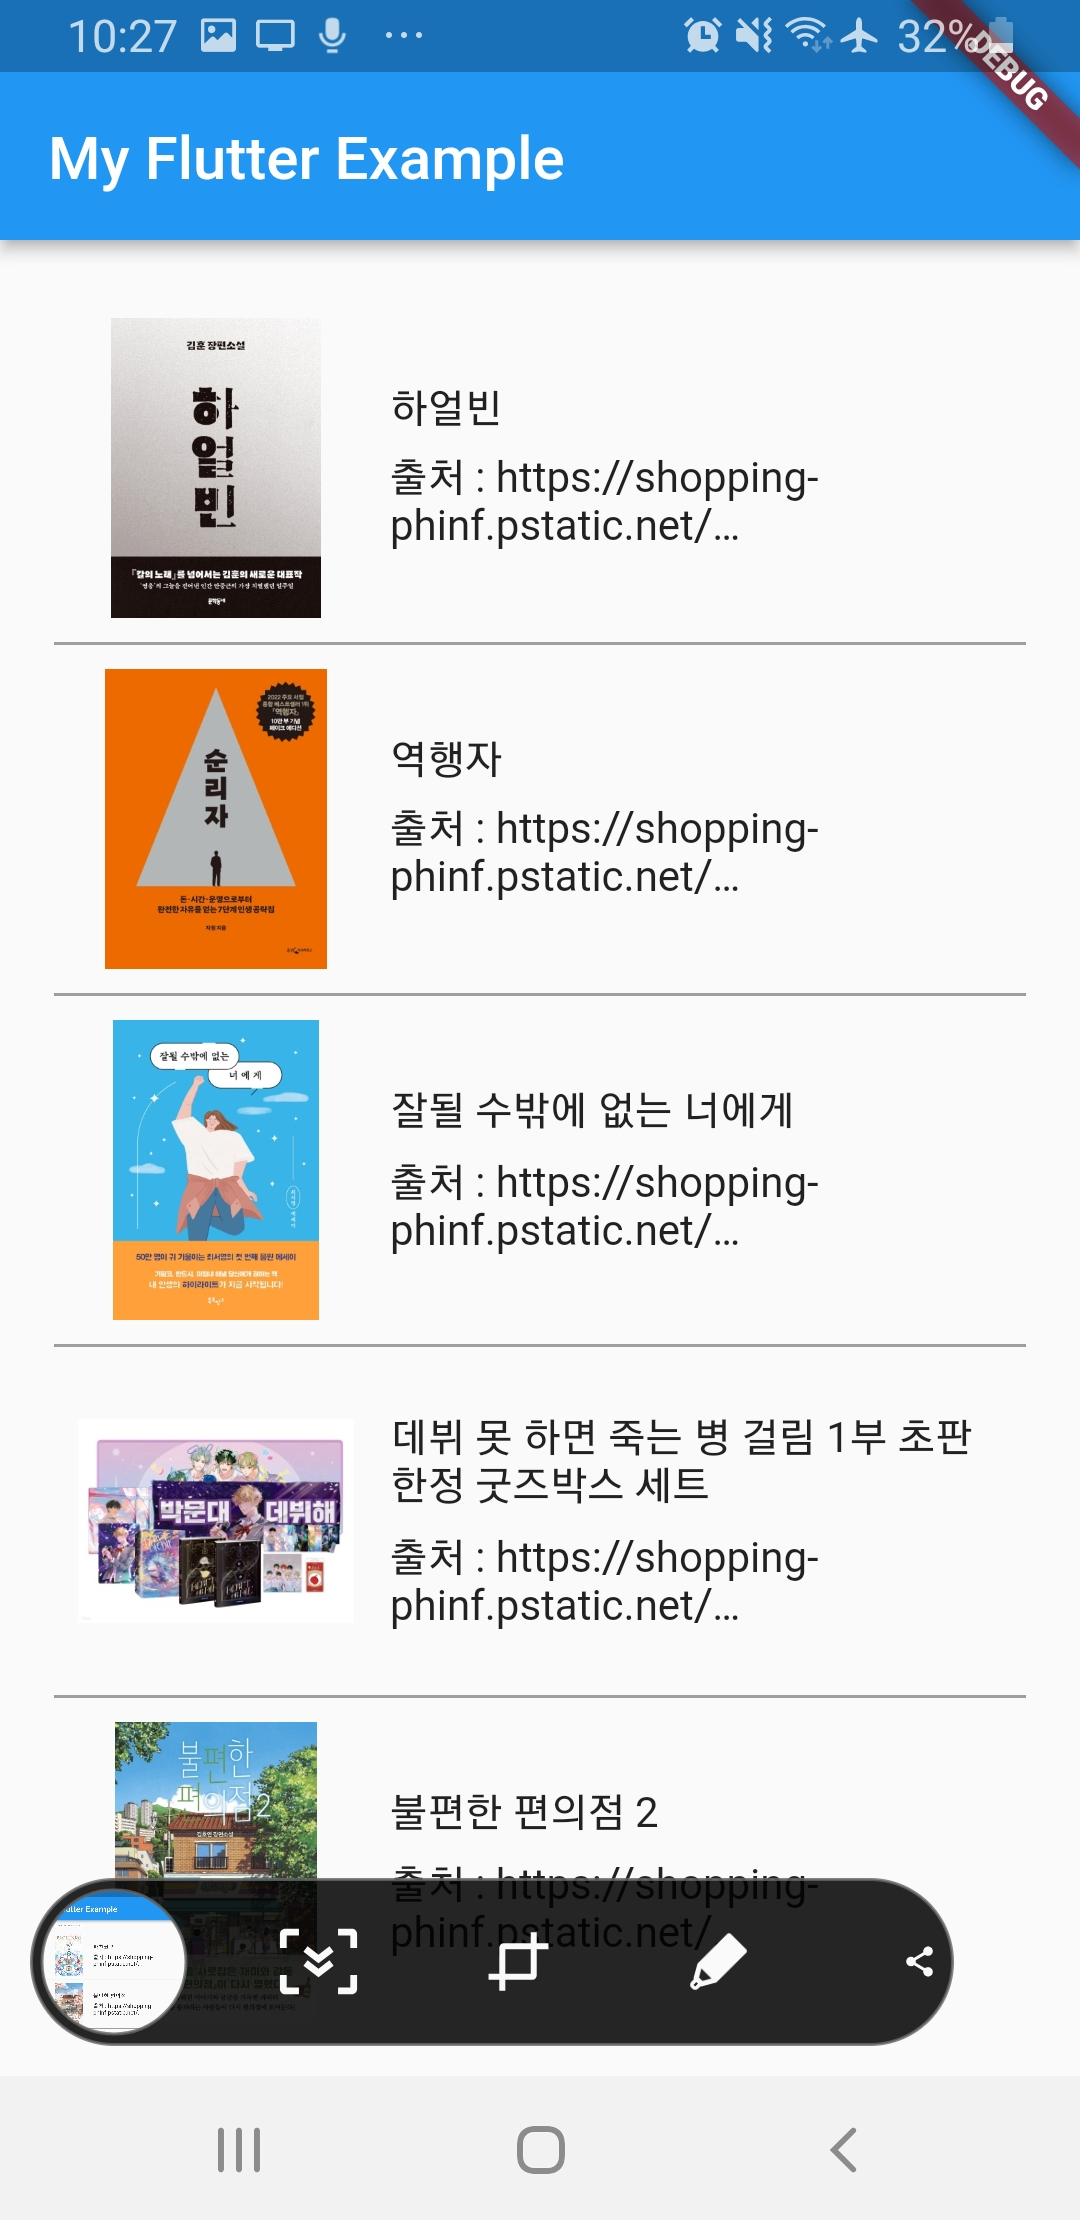
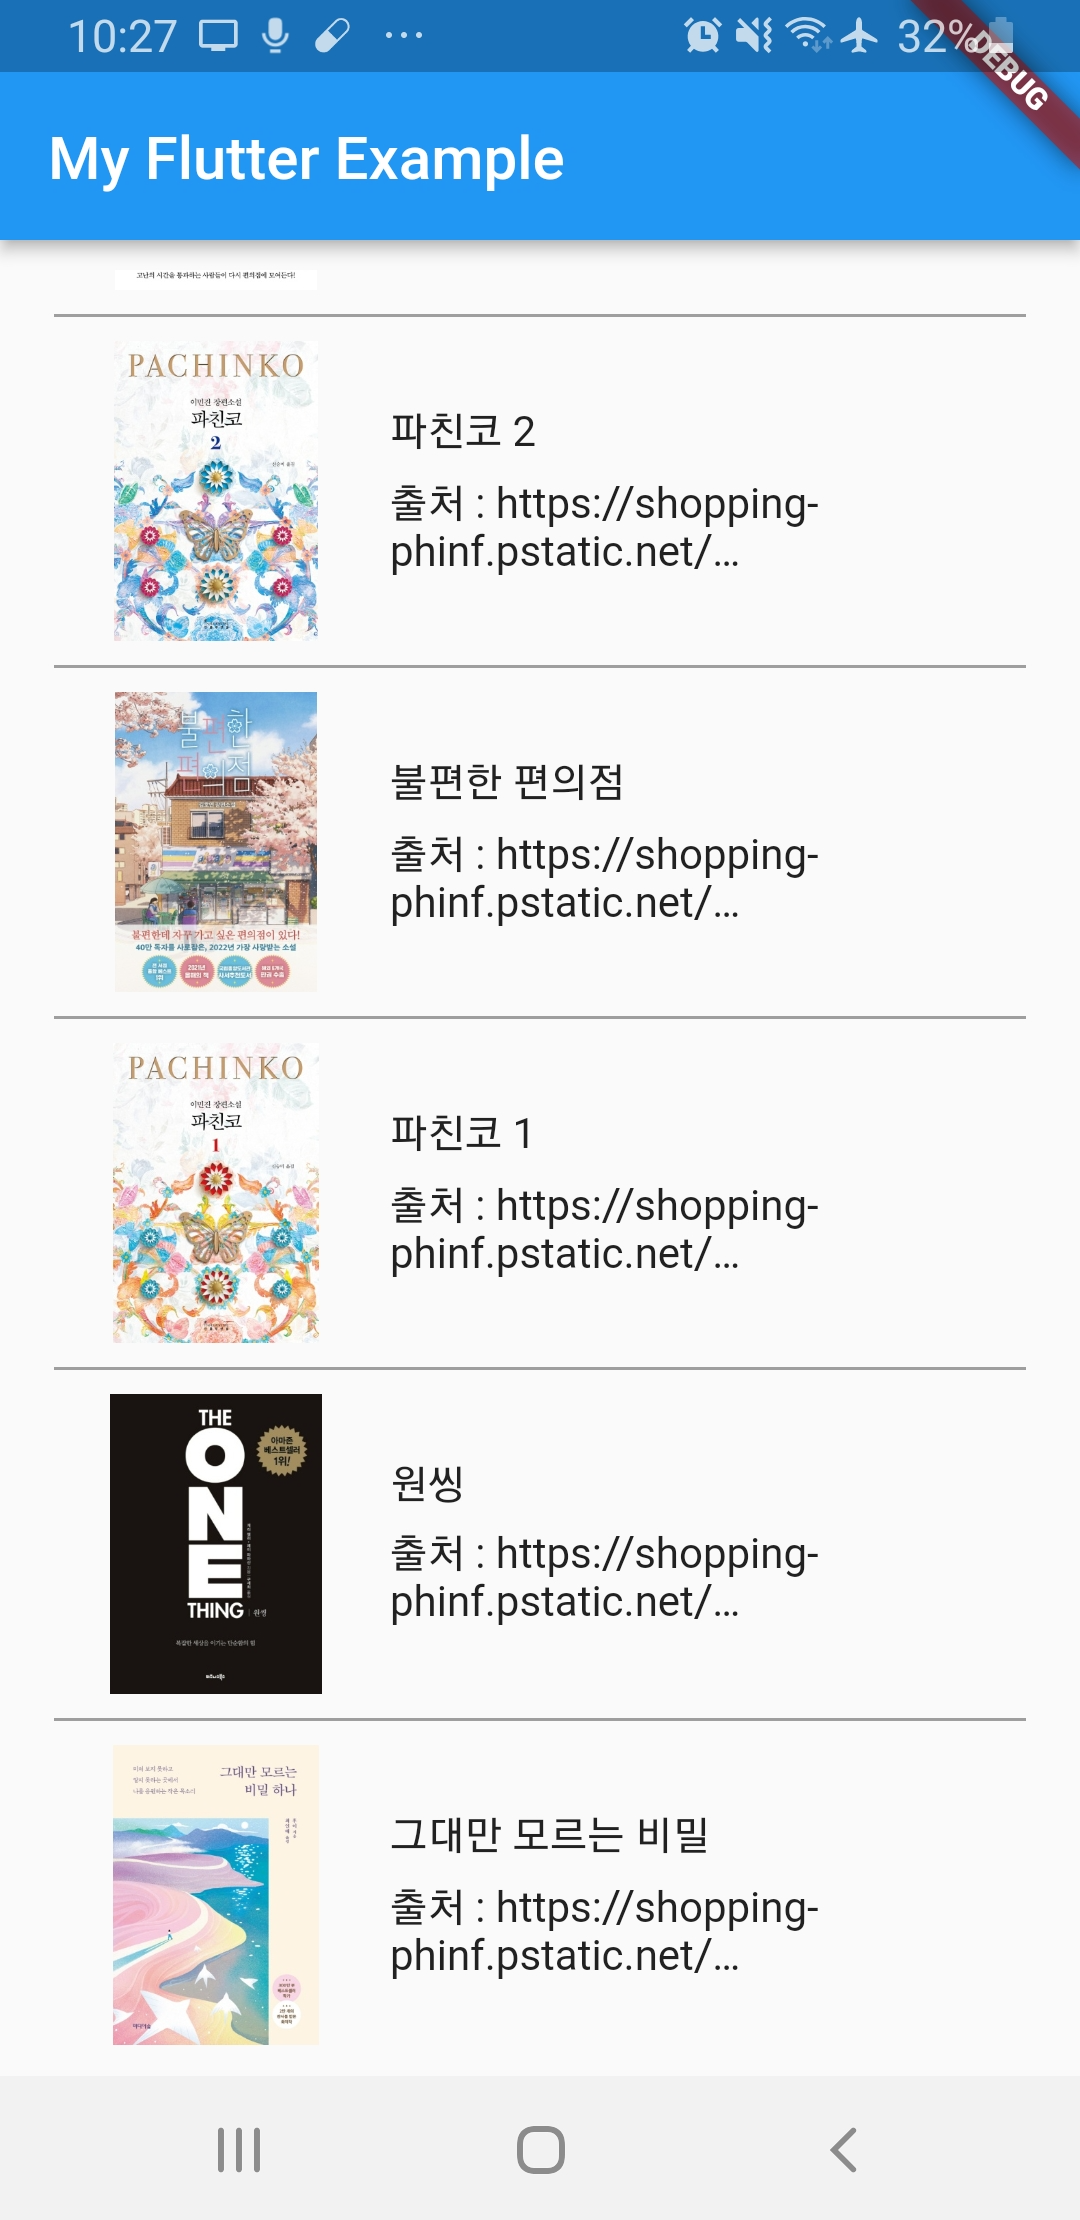
자 여기까지 따라오셨다면 여러분의 Flutter 앱도 리스트뷰를 송출할 수 있게 됩니다.
안드로이드의 퍼미션 설정을 별도로 수행하여야 합니다.
(android-app-src-main-AndroidManifest 설정)
<manifest xmlns:android="http://schemas.android.com/apk/res/android"
    package="com.example.testapplication">
    <uses-permission android:name="android.permission.INTERNET" />
    ...
</manifest>
여기서 ListView의 아이템 클릭 시 상세화면으로 넘어가려면 어떻게 해야할까요 ?
BookTile의 객체는 각 아이템에 대한 정보를 가지고 있으니, BookTile 클릭 시 이벤트를 넣어주시면 되겠습니다.
이벤트 설정을 위해 BookTile 내 GestureDetector를 미리 선언하였고 여기 onTap메소드에 화면이동 코드를 작성하시면 됩니다.
여기까지 따라오셨다면 여러분의 앱도 다음과 같이 리스트뷰를 송출할 수 있게 됩니다.
앱의 전체코드는 다음과 같습니다.
import 'package:flutter/material.dart';

void main() {
  runApp(const MyApp());
}

class MyApp extends StatelessWidget {
  const MyApp({Key? key}) : super(key: key);

  // This widget is the root of your application.
  @override
  Widget build(BuildContext context) {
    return MaterialApp(
      title: 'Flutter Demo',
      theme: ThemeData(
        primarySwatch: Colors.blue,
      ),
      home: const MyHomePage(title: 'My Flutter Example'),
    );
  }
}

class MyHomePage extends StatefulWidget {
  const MyHomePage({Key? key, required this.title}) : super(key: key);
  final String title;

  @override
  State<MyHomePage> createState() => _MyHomePageState();
}

class _MyHomePageState extends State<MyHomePage> {
  List<Book> books = [
    Book(
        id: 1,
        title: "하얼빈",
        imgSrc:
            "https://shopping-phinf.pstatic.net/main_3368498/33684983664.20220808092115.jpg?type=w300"),
    Book(
        id: 2,
        title: "역행자",
        imgSrc:
            "https://shopping-phinf.pstatic.net/main_3255028/32550285396.20220914160250.jpg?type=w300"),
    Book(
        id: 3,
        title: "잘될 수밖에 없는 너에게",
        imgSrc:
            "https://shopping-phinf.pstatic.net/main_3410601/34106011618.20220818093442.jpg?type=w300"),
    Book(
        id: 4,
        title: "데뷔 못 하면 죽는 병 걸림 1부 초판 한정 굿즈박스 세트",
        imgSrc:
            "https://shopping-phinf.pstatic.net/main_3449237/34492373619.20220905183722.jpg?type=w300"),
    Book(
        id: 5,
        title: "불편한 편의점 2",
        imgSrc:
            "https://shopping-phinf.pstatic.net/main_3368499/33684998621.20220811101806.jpg?type=w300"),
    Book(
        id: 6,
        title: "파친코 2",
        imgSrc:
            "https://shopping-phinf.pstatic.net/main_3393982/33939827618.20220808182811.jpg?type=w300"),
    Book(
        id: 7,
        title: "불편한 편의점",
        imgSrc:
            "https://shopping-phinf.pstatic.net/main_3244499/32444990070.20220527030724.jpg?type=w300"),
    Book(
        id: 8,
        title: "파친코 1",
        imgSrc:
            "https://shopping-phinf.pstatic.net/main_3343571/33435716826.20220728093341.jpg?type=w300"),
    Book(
        id: 9,
        title: "원씽",
        imgSrc:
            "https://shopping-phinf.pstatic.net/main_3247335/32473353629.20220527033429.jpg?type=w300"),
    Book(
        id: 9,
        title: "그대만 모르는 비밀",
        imgSrc:
            "https://shopping-phinf.pstatic.net/main_3434574/34345747674.20220830140856.jpg?type=w300")
  ];

  @override
  Widget build(BuildContext context) {
    return Scaffold(
        appBar: AppBar(
          title: Text(widget.title),
        ),
        body: Container(
            padding: EdgeInsets.all(10.0),
            alignment: Alignment.topCenter,
            child: ListView.builder(
                padding: const EdgeInsets.all(8),
                itemCount: books.length,
                itemBuilder: (ctx, index) {
                  if (index == books.length) return SizedBox();
                  return BookTile(books[index]);
                })));
  }
}

class BookTile extends StatelessWidget {
  BookTile(this._book);
  final Book _book;
  @override
  Widget build(BuildContext context) {
    // TODO: implement build
    return Container(
        decoration: BoxDecoration(
          border: Border(bottom: BorderSide(color: Colors.grey)),
        ),
        child: GestureDetector(
          onTap: () {
            //디테일 화면으로 이동 코드
          },
          child: Row(
            children: [
              Expanded(
                flex: 1,//아래 Expanded와 크기 비율 설정
                child: Container(
                  padding: EdgeInsets.all(8),
                  child: Image.network( //네트워크 이미지를 불러와 이미지 삽입
                    this._book.imgSrc,
                    height: 100,
                  ),
                ),
              ),
              Expanded(
                  flex: 2,
                  child: Column(
                    children: [
                      Container(
                        padding: EdgeInsets.all(4),
                        alignment: Alignment.centerLeft,
                        child: Text(
                          _book.title,
                        ),
                      ),
                      Container(
                        padding: EdgeInsets.all(4),
                        alignment: Alignment.centerLeft,
                        child: Text(
                          "출처 : " + _book.imgSrc,
                          maxLines: 2,
                          overflow: TextOverflow.ellipsis,
                        ),
                      ),
                    ],
                  ))
            ],
          ),
        ));
  }
}

class Book {
  int id;
  String title;
  String imgSrc;

  Book({required this.id, required this.title, required this.imgSrc});

  Map<String, dynamic> toMap() {
    return {'id': id, 'title': title, 'imgSrc': imgSrc};
  }

  factory Book.fromJson(Map<String, dynamic> json) {
    return Book(id: json['id'], title: json['title'], imgSrc: json['imgSrc']);
  }
}
<main.dart>
자 오늘은 플루터의 리스트뷰에 대해 알아봤습니다.
분량관계상 플루터의 화면이동에 대한 내용은 다음 내용으로 분리하도록 하겠습니다.
부족한 글 읽어주셔서 감사드리며 오늘도 좋은하루 보내세요 !!
'IT 프로그래밍-Flutter' 카테고리의 다른 글
| [Flutter] 선택 다이얼로그 만들기 (1) | 2023.05.06 |
|---|---|
| [Flutter] endless listview (1) | 2022.10.17 |
| [Flutter] get API 사용 시 obx 컴파일 에러 발생 시 해결법 (0) | 2022.10.11 |
| [Flutter] 플루터 화면 이동하기 (1) | 2022.09.24 |
| [Flutter] 플루터 이미지 불러오기 중 오류현상 (0) | 2022.08.20 |

'IT 프로그래밍-Flutter'의 다른글
- 현재글[Flutter] 플루터 리스트뷰 만들기